Note
Access to this page requires authorization. You can try signing in or changing directories.
Access to this page requires authorization. You can try changing directories.
The ability to manage resources is granted by assigning roles that provide the required permissions. Roles can be assigned to individual users or groups. To align with the Zero Trust guiding principles, use Just-In-Time and Just-Enough-Access policies when assigning roles.
This article provides instructions on how to assign roles directly to users in the Microsoft Entra admin center.
Prerequisites
Before assigning roles to users, review the following Microsoft Learn articles:
- Learn about Microsoft Entra roles
- Learn about role based access control
- Explore the Azure built-in roles
To use Privileged Identity Management, you must have a Microsoft Entra ID P2 or Microsoft Entra ID Governance license. For more information on licensing, see Microsoft Entra ID Governance licensing fundamentals.
Assign roles
If you need to assign a role directly to a user, you select the user, choose the role, and adjust the settings. While assigning roles directly to users might be necessary for one-off scenarios, consider using groups to manage role assignments at scale. For more information, see Use group to manage role assignments
Eligible roles are assigned to a user but must be elevated Just-In-Time by the user through Privileged Identity Management (PIM). For more information about how to use PIM, see Privileged Identity Management.
Sign in to the Microsoft Entra admin center as a Privileged Role Administrator.
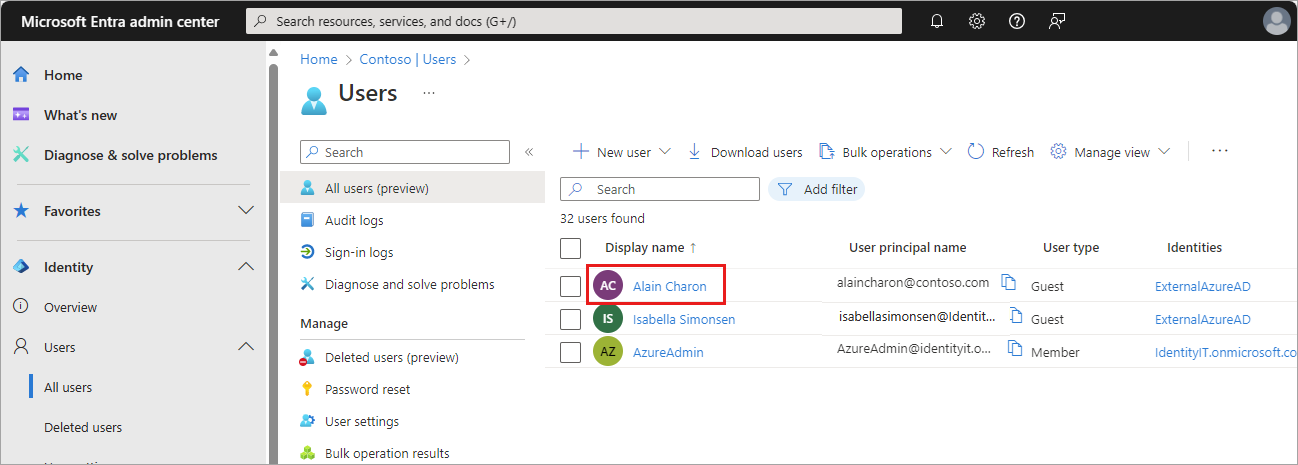
Browse to Entra ID > Users.
Search for and select the user getting the role assignment.
Select Assigned roles from the side menu, then select Add assignments.

Select a role to assign from the dropdown list and select the Next button.
Select an Assignment type.
If your organization has a Microsoft Entra ID P2, Microsoft Entra ID Governance, or Microsoft Entra Suite license, you can assign roles as either eligible or active. If your organization has a Free or Microsoft Entra ID P1 license, you can only assign roles as active.

Leave the Permanently eligible option selected if the role should always be available to elevate for the user.
If you uncheck this option, you can specify a date range for the role eligibility.
Select the Assign button.
Assigned roles appear in the associated section for the user, so eligible and active roles are listed separately.
Update roles
You can change the settings of a role assignment, for example to change an active role to eligible.
Browse to Entra ID > Users.
Search for and select the user getting their role updated.
Select Assigned roles from the side menu, then select either Eligible assignments or Active assignments.
Select the the Update link for the role that needs to be changed.

Change the settings as needed and select the Save button.


Remove roles
You can remove role assignments from the Administrative roles page for a selected user.
Browse to Entra ID > Users.
Search for and select the user getting the role assignment removed.
Go to the Assigned roles page and select the Remove link for the role that needs to be removed. Confirm the change in the pop-up message.