Note
Access to this page requires authorization. You can try signing in or changing directories.
Access to this page requires authorization. You can try changing directories.
In this article, you learn how to create a custom image from a provisioned Azure DevTest Labs virtual machine (VM). The custom image includes the OS disk, attached data disks, and any artifacts associated with the VM. Lab users can use the custom image to create identical provisioned lab VMs.
In Azure DevTest Labs, you can use custom images to:
- Create a VM from a VHD file that has all the software you need preinstalled.
- Create VMs quickly, because you don't have to install all the required software on the target machines.
- Clone a VM by creating a custom image from a VM, and then creating VMs based on that image.
Prerequisites
- Owner or Contributor role in a lab that has an existing VM.
Create the custom image
To create a custom image from a lab VM, take the following steps:
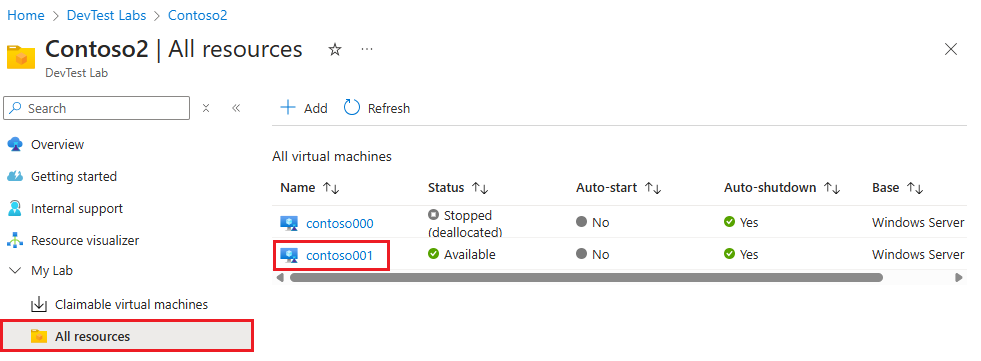
On your lab's Overview page in the Azure portal, select All resources from the left navigation menu.
On the All resources page, select the VM to use for the image from the All virtual machines list.
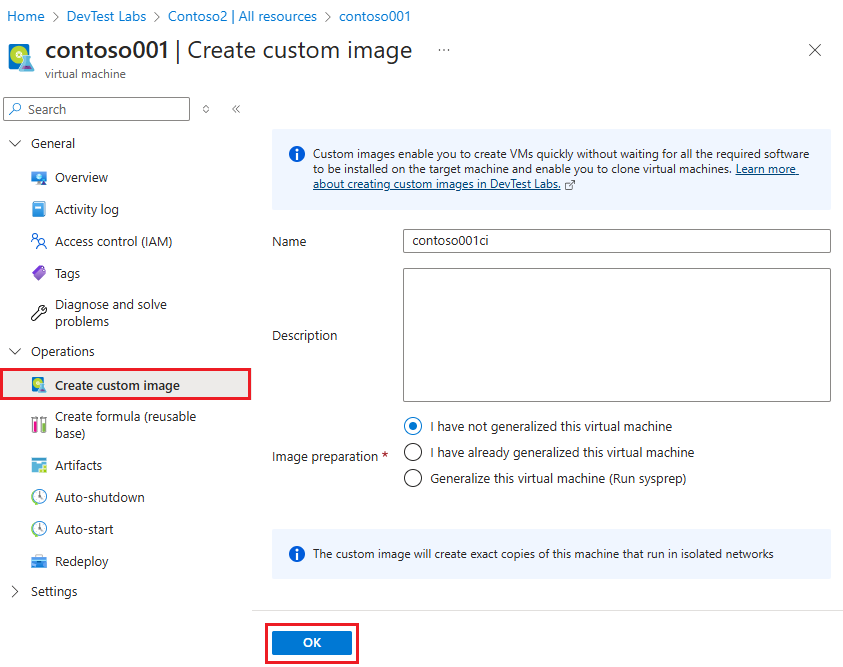
On the VM's Overview page, select Create custom image under Operations in the left navigation.
On the Create custom image page, enter a Name and optional Description for the custom image.
Under Image preparation, select one of the following options:
- I have not generalized this virtual machine
- I have already generalized this virtual machine
- Generalize this virtual machine (for Windows: (Run sysprep) or for Linux: (Run deprovision))
Sysprep for Windows or deprovision for Linux create generalized images that have user profiles and other VM-specific settings removed. If you don't run sysprep or deprovision, the custom image creates exact copies of the machine that can run in isolated networks. For more information, see Generalize a VM.
If you want sysprep or deprovision to be run on the VM when creating the custom image, choose Generalize this virtual machine. Running sysprep or deprovision when you create the custom image makes the existing VM unusable.
Select OK.
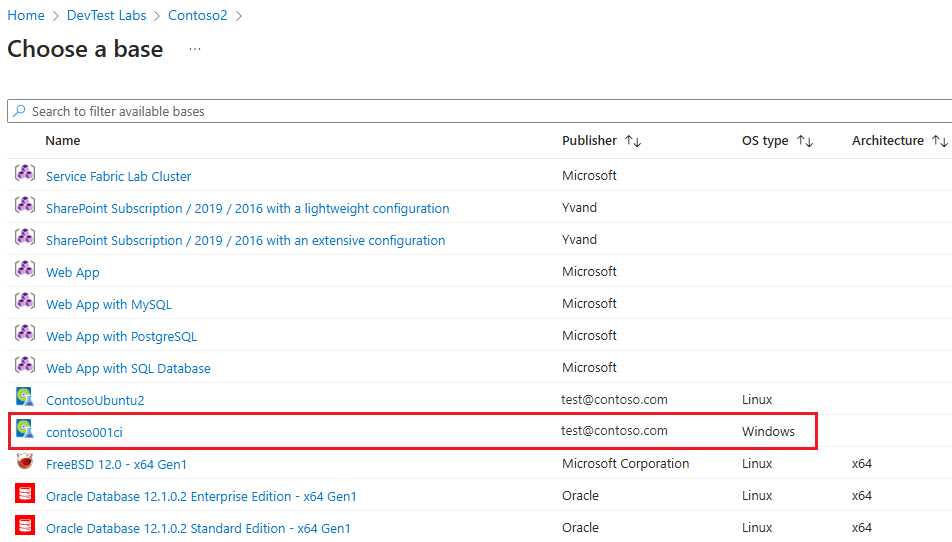
The custom image is created and stored in the lab's storage account. The image now appears on the Custom images list for the lab and is available in the list of base images for creating a new lab VM.