Note
Access to this page requires authorization. You can try signing in or changing directories.
Access to this page requires authorization. You can try changing directories.
Applies to: ✔️ Windows VMs ✔️ Linux VMs ✔️ Windows Registry ✔️ Windows Files ✔️ Linux Files ✔️ Windows Software ✔️ File Content Changes
This article describes how you can enable Change Tracking and Inventory for single and multiple Azure Virtual Machines (VMs) from the Azure portal.
Prerequisites
- An Azure subscription. If you don't have one yet, you can activate your MSDN subscriber benefits or sign up for a free account.
- A virtual machine configured in the specified region.
Enable Change Tracking and Inventory
Enable change tracking and inventory for single VM from Azure portal
This section provides detailed procedure on how you can enable change tracking on a single Azure VM and Arc-enabled VM.
Sign in to Azure portal and navigate to Virtual machines.

Select the virtual machine for which you want to enable Change Tracking.
In the search, enter Change tracking to view the change tracking and inventory page.

In the Stay up-to-date with all changes layout, select Enable using AMA agent (Recommended) option and Enable.
It will initiate the deployment and the notification appears on the top right corner of the screen.


Note
- When you enable Change Tracking in the Azure portal using the Azure Monitoring Agent, the process automatically creates a Data Collection Rule (DCR). This rule will appear in the resource group with a name in the format ct-dcr-aaaaaaaaa. After the rule is created, add the required resources.
- It usually takes up to two to three minutes to successfully onboard and enable the virtual machine(s). After you enable a virtual machine for change tracking, you can make changes to the files, registries, or software for the specific VM.

Enable change tracking and inventory for multiple VMs using Azure portal and Azure CLI
This section provides detailed procedure on how you can enable change tracking and inventory on multiple Azure VMs and Azure Arc-enabled VMs.
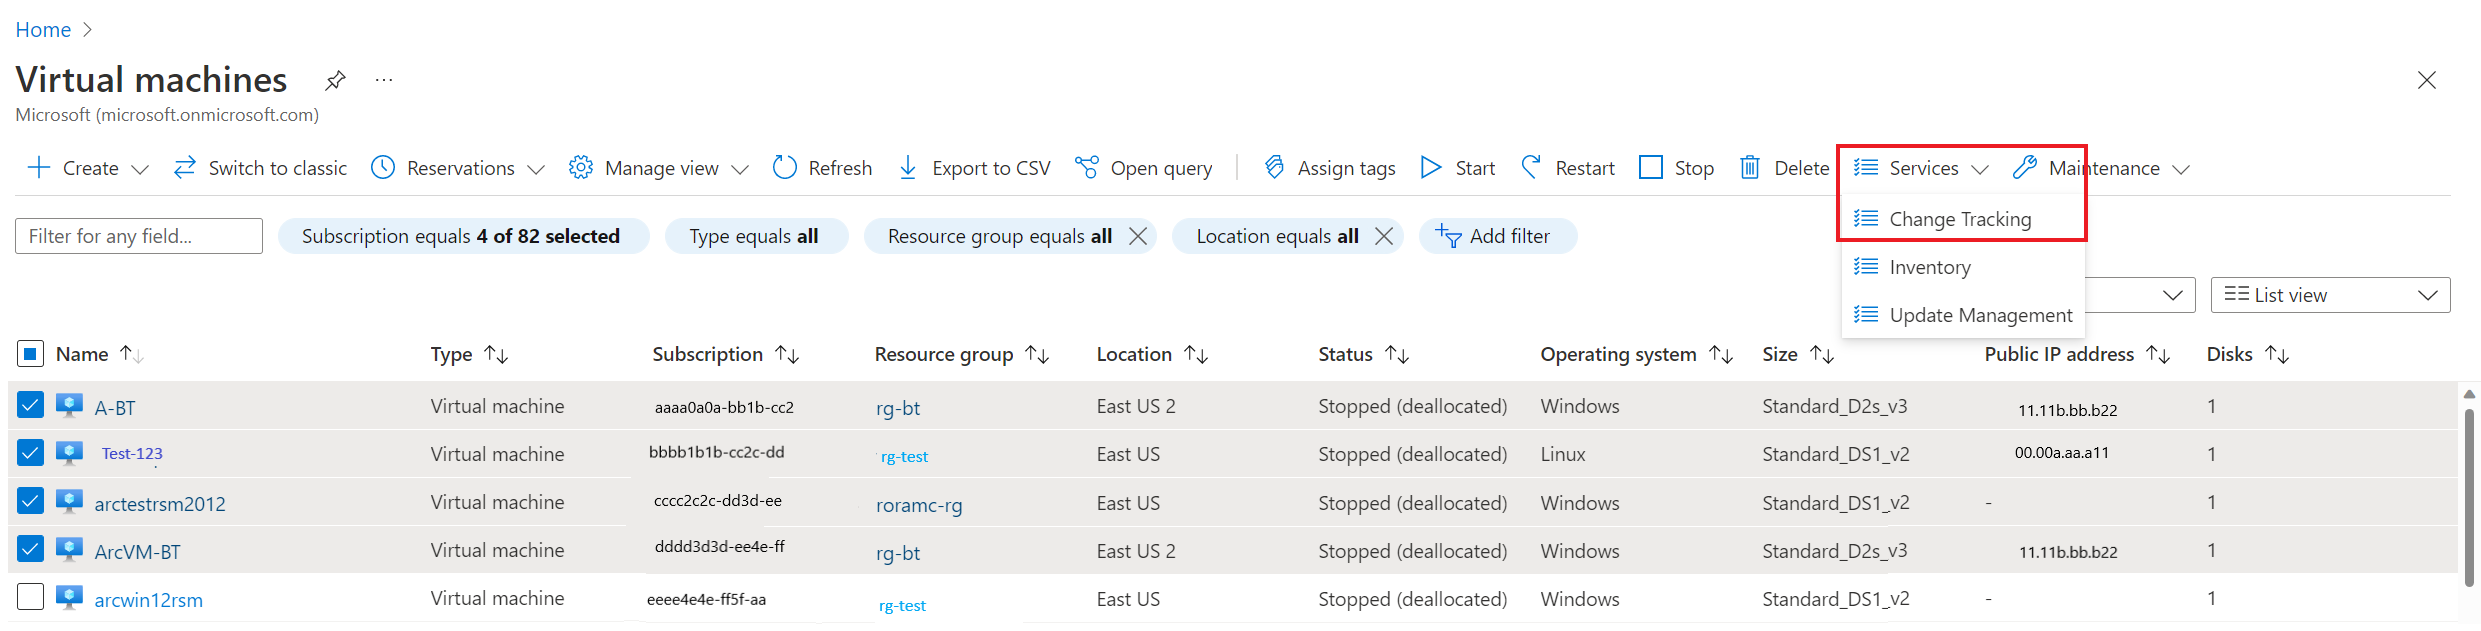
Sign in to Azure portal and navigate to Virtual machines.
Select the virtual machines to which you intend to enable change tracking and select Services > Change Tracking.
Note
You can select up to 250 virtual machines at a time to enable this feature.
In Enable Change Tracking page, select the banner at the top of the page, Click here to try new change tracking and inventory with Azure Monitoring Agent (AMA) experience.
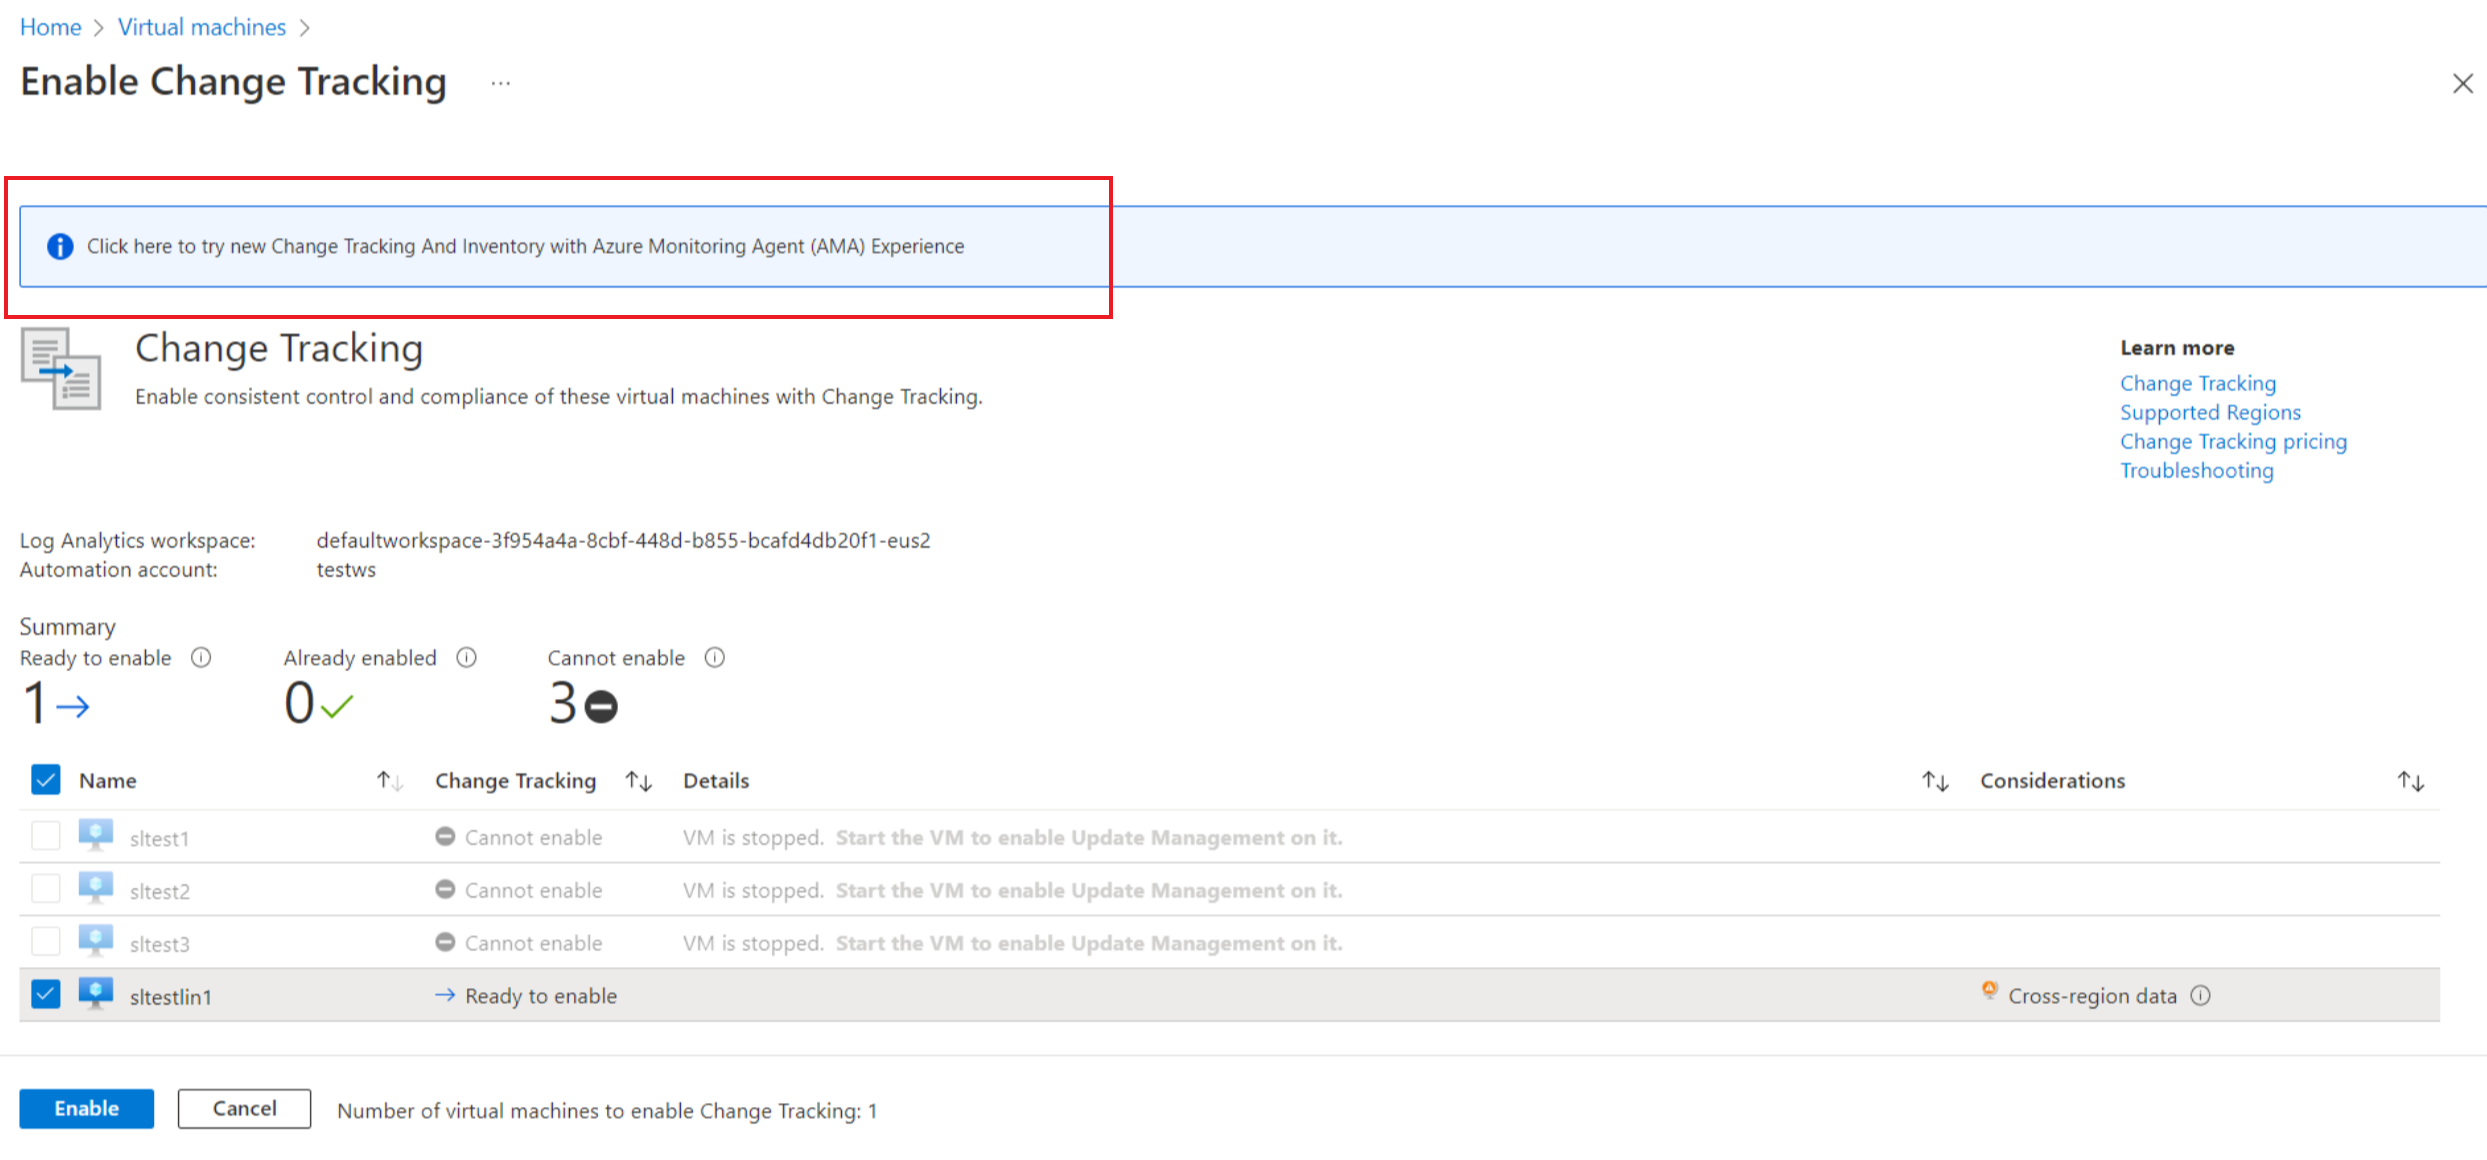
In Enable Change Tracking page, you can view the list of machines that are enabled, ready to be enabled and the ones that you can't enable. You can use the filters to select the Subscription, Location, and Resource groups. You can select a maximum of three resource groups.

Select Enable to initiate the deployment.
A notification appears on the top right corner of the screen indicating the status of deployment.


Create data collection rule
Download CtDcrCreation.json file on your machine.
Go to Azure portal and in the search, enter Deploy a custom template.
In the Custom deployment page > select a template, select Build your own template in the editor.

In the Edit template, select Load file to upload the CtDcrCreation.json file.
Select Save.
In the Custom deployment > Basics tab, provide Subscription and Resource group where you want to deploy the Data Collection Rule. The Data Collection Rule Name is optional. The resource group must be same as the resource group associated with the Log Analytic workspace ID chosen here.

Note
- Ensure that the name of your Data Collection Rule is unique in that resource group, else the deployment will overwrite the existing Data Collection Rule.
- The Log Analytics Workspace Resource Id specifies the Azure resource ID of the Log Analytics workspace used to store change tracking data. Ensure that location of workspace is from the Change tracking supported regions
Select Review+create > Create to initiate the deployment of CtDcrCreation.
After the deployment is complete, select CtDcr-Deployment to see the DCR Name. Use the Resource ID of the newly created Data Collection Rule for Change tracking and inventory deployment through policy.

Note
After creating the Data Collection Rule (DCR) using the Azure Monitoring Agent's change tracking schema, ensure that you don't add any Data Sources to this rule. This can cause Change Tracking and Inventory to fail. You must only add new Resources in this section.
Next steps
- For details of working with the feature, see Manage Change Tracking.
- To troubleshoot general problems with the feature, see Troubleshoot Change Tracking and Inventory issues.