Note
Access to this page requires authorization. You can try signing in or changing directories.
Access to this page requires authorization. You can try changing directories.
This guide shows you how to create an email address policy and assign it to a container in Active Directory.
Open up the Exchange Admin Center:
http://collaborationpro.com/wp-content/uploads/2015/02/pol1-300x110.png
- Step 1 -> Enter in the user that has access to create databases. E.g. Domain\username
- Step 2 -> Enter in the password
- Step 3 -> Click Sign in
http://collaborationpro.com/wp-content/uploads/2015/02/pol2-300x154.png
- Step 1 -> Click on Mail Flow
- Step 2 -> Click on email address policies
- Step 3 -> Click the + button to add a new policy
http://collaborationpro.com/wp-content/uploads/2015/02/pol3-300x293.png
- Once you click the + button the following window will appear.
- Enter in the Policy name.
- Click the + button to specify the format.
http://collaborationpro.com/wp-content/uploads/2015/02/pol4-300x288.png
- Once you click the + button the window above will show.
- I am using another accepted domain which you can choose from the drop down. (Step 1)
- Step 2 -> Here you can choose the format, in this exercise we chose the first option.
- Step 3 -> Click Save.
http://collaborationpro.com/wp-content/uploads/2015/02/pol5-300x295.png
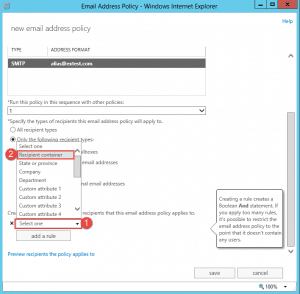
- As shown above the new policy is shown.
- Step 1 -> Specify a specific type of recipient, in this example we chose users with exchange mailboxes.
- Step 2 -> Click on add a rule.
http://collaborationpro.com/wp-content/uploads/2015/02/pol6-300x294.png
- Step 1 -> Click the drop down arrow.
- Step 2 -> Click on Recipient container.
http://collaborationpro.com/wp-content/uploads/2015/02/pol7-245x300.png
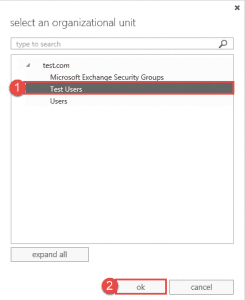
- Once the window shows, Step 1 -> Select the container you want this to apply to.
- Step 2 -> Click OK.
http://collaborationpro.com/wp-content/uploads/2015/02/pol8-300x294.png
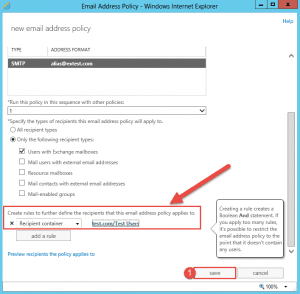
- As shown above, it now shows to which container the rule will apply.
- Step 1 -> Click on Save.
http://collaborationpro.com/wp-content/uploads/2015/02/pol9-300x205.png
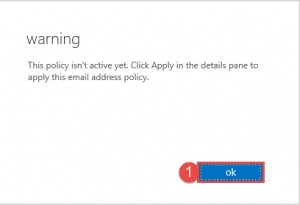
- Once the policy has applied you will get the warning that it is not active. Click Ok.
http://collaborationpro.com/wp-content/uploads/2015/02/pol10-300x115.png
- As you can see that Test Policy is now listed however not applied.
- Step 1 -> Click on Apply.
http://collaborationpro.com/wp-content/uploads/2015/02/pol11-300x236.png
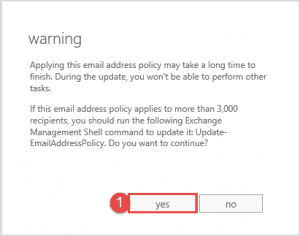
- The following Warning will come up when you click apply, Click Yes.
http://collaborationpro.com/wp-content/uploads/2015/02/pol12-300x203.png
- Once the policy has applied you will see the window above. Click on Close.
http://collaborationpro.com/wp-content/uploads/2015/02/pol13-300x121.png
- As shown above the policy is now applied.
http://collaborationpro.com/wp-content/uploads/2015/02/pol14-300x156.png
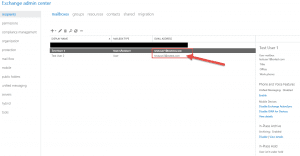
- After a few min you will now see the new email address assigned to the mailboxes as shown above.